
 By
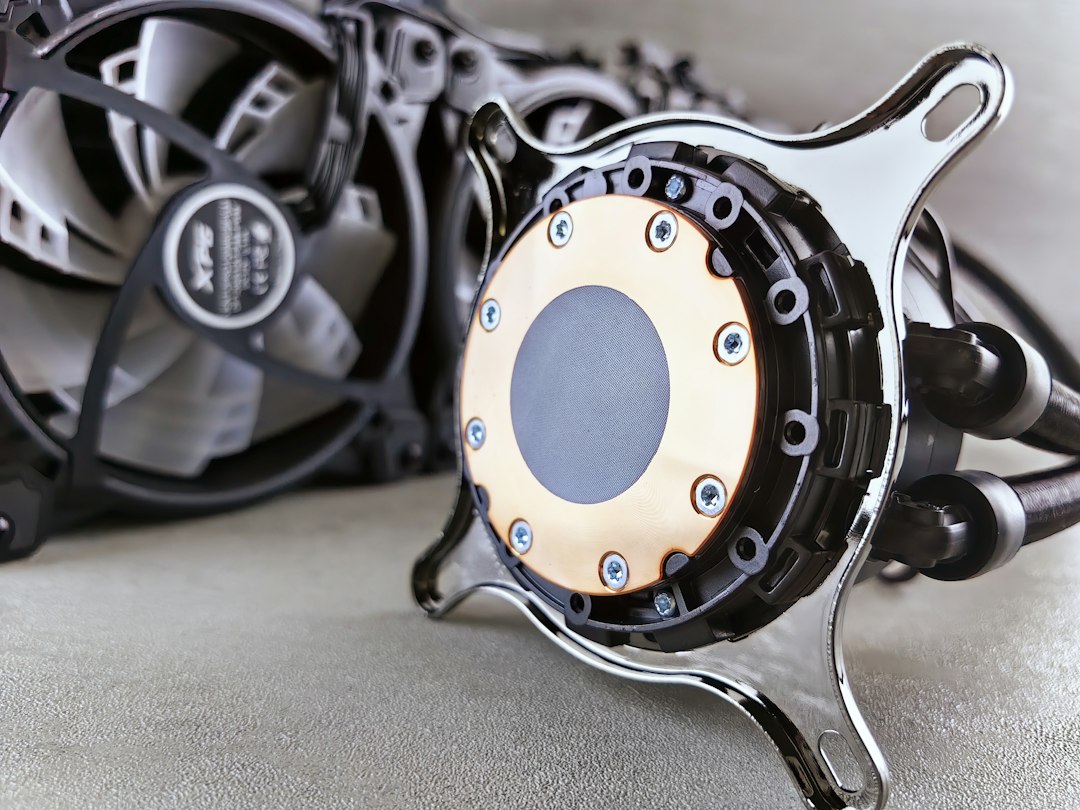
Installing a new CPU cooler can seem daunting, but with the right guidance, it can be a straightforward process. At thermalguardtech.com, we’ve seen countless users transform their gaming rigs and workstations with efficient cooling solutions. This article will guide you through the installation process, ensuring you achieve optimal performance while also sharing insights from the local tech community in Austin, Texas, where many have reported significant improvements in their system’s efficiency.
Understanding Your CPU Cooler
Before diving into the installation, it’s essential to understand the different types of CPU coolers available. Air coolers, which use fans and heat sinks, are popular for their reliability and ease of installation. On the other hand, liquid coolers offer superior cooling performance, especially for overclocked systems. Knowing the type of cooler you have will help you prepare for the installation process and ensure compatibility with your CPU socket.
In Austin, many tech enthusiasts have opted for liquid cooling systems due to the hot climate, which can lead to overheating during intense gaming sessions. By switching to a liquid cooler, users have reported a temperature drop of up to 20 degrees Celsius, significantly enhancing their system’s longevity and performance. This local trend highlights the importance of choosing the right cooling solution based on your environment.
Gathering Your Tools
Having the right tools at your disposal is crucial for a smooth installation. You will need a Phillips screwdriver, thermal paste, and possibly a pair of pliers, depending on your cooler’s design. Additionally, it’s wise to have a clean workspace to avoid losing small components. Preparing your tools in advance can save you time and frustration during the installation process.
In our community workshops in Austin, we emphasize the importance of preparation. Participants who came equipped with all necessary tools completed their installations in an average of 30 minutes, while those who had to search for tools took nearly an hour longer. This simple step can greatly enhance your efficiency and make the installation process more enjoyable.
Step-by-Step Installation Process
Now that you have your cooler and tools ready, it’s time to begin the installation. Start by removing the old cooler, which may involve unscrewing it and gently twisting it off the CPU. Be cautious during this step to avoid damaging the CPU or motherboard. Once removed, clean the CPU surface with isopropyl alcohol to remove any old thermal paste.
Next, apply a small amount of new thermal paste to the center of the CPU. This is crucial for optimal heat transfer between the CPU and the cooler. After applying the paste, carefully place the new cooler onto the CPU, aligning it with the mounting brackets. Secure it according to the manufacturer’s instructions, ensuring it is firmly in place without overtightening, which could damage the components.
Testing Your Installation
Once your new CPU cooler is installed, it’s essential to test your system to ensure everything is functioning correctly. Start your computer and monitor the CPU temperatures using software tools like HWMonitor or Core Temp. Ideally, you should see a significant drop in temperatures compared to your previous setup. This step is crucial, as it confirms that the cooler is seated correctly and that thermal paste is applied properly.
In Austin, users have reported an average reduction in CPU temperatures of 15-25 degrees Celsius after upgrading to a new cooler. This not only improves performance but also extends the lifespan of the CPU, making it a worthwhile investment. Engaging with local tech forums can provide additional insights and troubleshooting tips if you encounter any issues during this phase.
Community Impact and Conclusion
The impact of proper CPU cooling extends beyond individual systems; it fosters a culture of performance and reliability within the tech community. In Austin, the rise in CPU cooler installations has led to a noticeable increase in local gaming tournaments and tech meetups, as enthusiasts share their experiences and knowledge. This collaborative environment encourages innovation and helps users maximize their hardware’s potential.
In conclusion, installing a new CPU cooler can be a rewarding experience that enhances your system’s performance. By following the steps outlined in this article and engaging with your local tech community, you can ensure a successful installation and enjoy the benefits of improved cooling. Remember, at thermalguardtech.com, we are here to support you every step of the way, providing quality products and resources to help you achieve your tech goals.